27 October 2016

Day Six - Python Animation

 MicroPython Animation


Animation is the process of making the illusion of motion and change[Note 1] by means of the rapid 
display of a sequence of static images that minimally differ from each other. The illusion—as in motion pictures in general—is thought to rely on the phi phenomenonAnimators are artists who specialize in the creation of animation. Animation can be recorded with either analogue media, a flip bookmotion picture film, video tape, digital media, including formats with animated GIFFlash animation and digital video. To display animation, a digital camera, computer, or projector are used along with new technologies that are produced.
From Wikipedia.

Today, I'm going to explain to you about how to make a python animation.
If you go on to the MicroPython editor it will look like this :
Image result for micropython editor

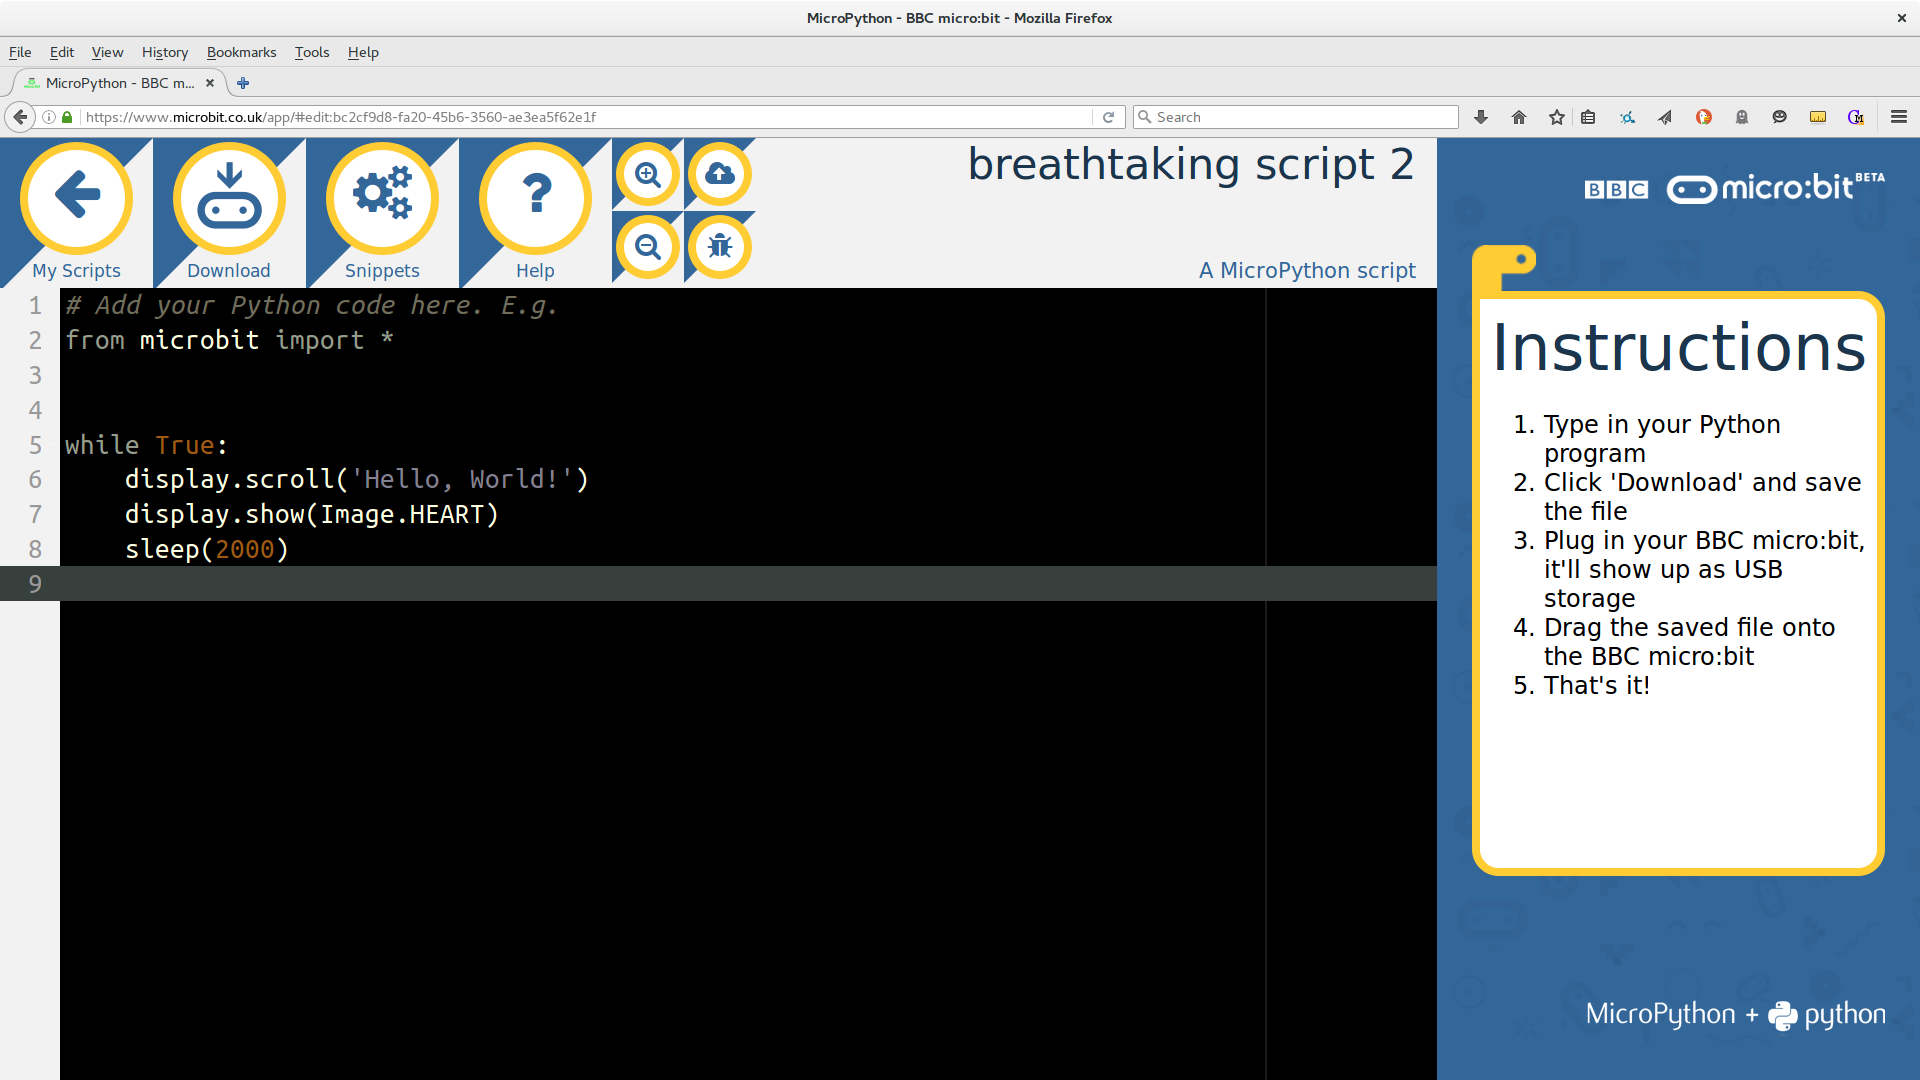
If you put in this bit of code,you can adjust the brightness of each light (by putting in numbers 1-9,nine as brightest) and if you put all the pictures together it can make an animation.
any_name_you_want = Image("00000:"
                          "00000:"
                          "00000:"
                          "00000:"
                          "00000")

Example of an Animation:
any_name_you_want1 =Image("00000:"
                          "00000:"
                          "00000:"
                          "00000:"
                          "90000")
any_name_you_want2 =Image("00000:"
                          "00000:"
                          "00000:"
                          "09000:"
                          "80000")
any_name_you_want3 =Image("00000:"
                          "00000:"
                          "00900:"
                          "08000:"
                          "70000")
any_name_you_want4 =Image("00000:"
                          "00090:"
                          "00800:"
                          "07000:"
                          "60000")
any_name_you_want5 =Image("00009:"
                          "00080:"
                          "00700:"
                          "06000:"
                          "50000")

all_any_name_you_want = [any_name_you_want1, any_name_you_want2, any_name_you_want3, any_name_you_want4,any5]_name_you_want
display.show(all_any_name_you_want, delay=200)
Also, you can plan out your animation with a 5x5 grid. 


26 October 2016

Day Five - Fixed and a Crossbar Challenge!

                        The micro:bit is fixed!!

Thanks very much to my dad for repairing my micro:bit by soldering the connector back on.
:)

                           Crossbar Challenge and Counter!


In this video I will explain to you about how to make a crossbar challenge counter. The micro:bit will count up by one every time it shook and when you pressed button A it would clear the screen and start again.

25 October 2016

Day 4 - Is this the End?

                   My micro:bit is broken!


I was planning to do a video on my crossbar challenge counter. The micro:bit was attached to the crossbar of  the goalposts and every time the ball hit the crossbar or the micro:bit shook the counter would go up by one and when you pressed button A it would restart. The micro:bit could do so as it had an accelerometer built in which detects vibrations and movement.
Before we started filming I hit the micro:bit with the ball ... and it broke! :(

Next time I'll put the micro:bit in a box. But because I broke the micro:bit I might not be blogging very much. So goodbye for now!


24 October 2016

Day Three - Stopwatch Part Three

                                       Code Improvement


As I said in my last video, I will improve my code because it wouldn't stop entirely. Now here it is!
The issue was that when I pressed B it would only stop for five seconds. In the video I will explain how to enhance a micro:bit stopwatch with the main point of making the variable 'counter'.

After this video the micro:bit should:

1. When A is pressed, start counting.
2. When B is pressed, stop until A is pressed again.


Day Three - Stopwatch Part Two

                                The 100m Sprint


Here is my micro:bit stopwatch challenge. Unfortunately, the micro:bit wouldn't
stop entirely because I set the pause to five seconds. I'll do another video on it later.

21 October 2016

Day Two - Stopwatch Part One

Get in! I made my first micro:bit program. Here is how I made a basic stopwatch.


Step One                                         

Go on to the block editor on microbit.org. At first there will be a blank screen.

Step Two

Drag the 'set item to' block in the variable row on to the screen and rename the variable 'stopwatch'. Grab the block in the maths row that says zero. Snap it on to the previous block.Then cover this with the 'on A pressed' loop.

Step Three

Next, put a 'show number' block down with the variable name 'stopwatch' block in the number section under that, place a 'change item by one' block down. Change the item button to 'stopwatch' and put a forever loop over it.

Step Four

Now we're getting on to the tricky bit!(well for me it was) Duplicate step two but replace A with B, and crate a new variable called pause and replace it with 'stopwatch'

Step Five

Under the section you made in step two, at the bottom of the code use the variable row to add in set pause to false'. Your code should look like this: 


Step Six

Add this into the forever loop:
If pause = True
                      do  pause(ms) 5000                     

Step seven

This is the last step! Add in loose(don't connect it to anything else) 'set pause to ...false' Then, press compile and plug in your micro:bit. Drag the hex file to the micro bit file and... you're done!

My Verdict.

At first found it a bit difficult but hopefully it was easier for you as I tried to explain the instructions as clear as I could. Also for more micro:bit ideas go to: http://www.101computing.net/category/bbc-microbit/


For the video:


20 October 2016

Day One - Opening my BBC micro:bit!

                   MY MICRO:BIT

Today I got my BBC micro:bit. It came in a light blue box and had a portable AAA battery pack, a USB wire and two AAA batteries.

The micro:bit itself has two buttons: A and B for functional uses, a 5 x 5 light grid, compass navigation,Bluetooth and several connecting rings. Also, you should not touch the circuit board.
I've decided to use the Block Editor and MicroPython Editor for coding.

I can't stop looking at it even now! I should probably be going to bed but I'll finish the blog first. Anyway, for my first project  I'm going to be creating a stopwatch to time myself running from one end of the garden to another. Hopefully, I'll be faster than Usain Bolt. OK, maybe not that fast. Can I sprint 100m in 13 seconds? Find out tomorrow in my next blog!